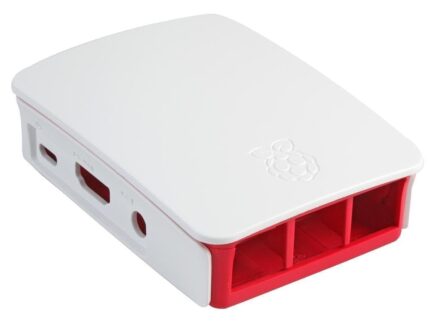
Raspberry Pi 4 Case Fan
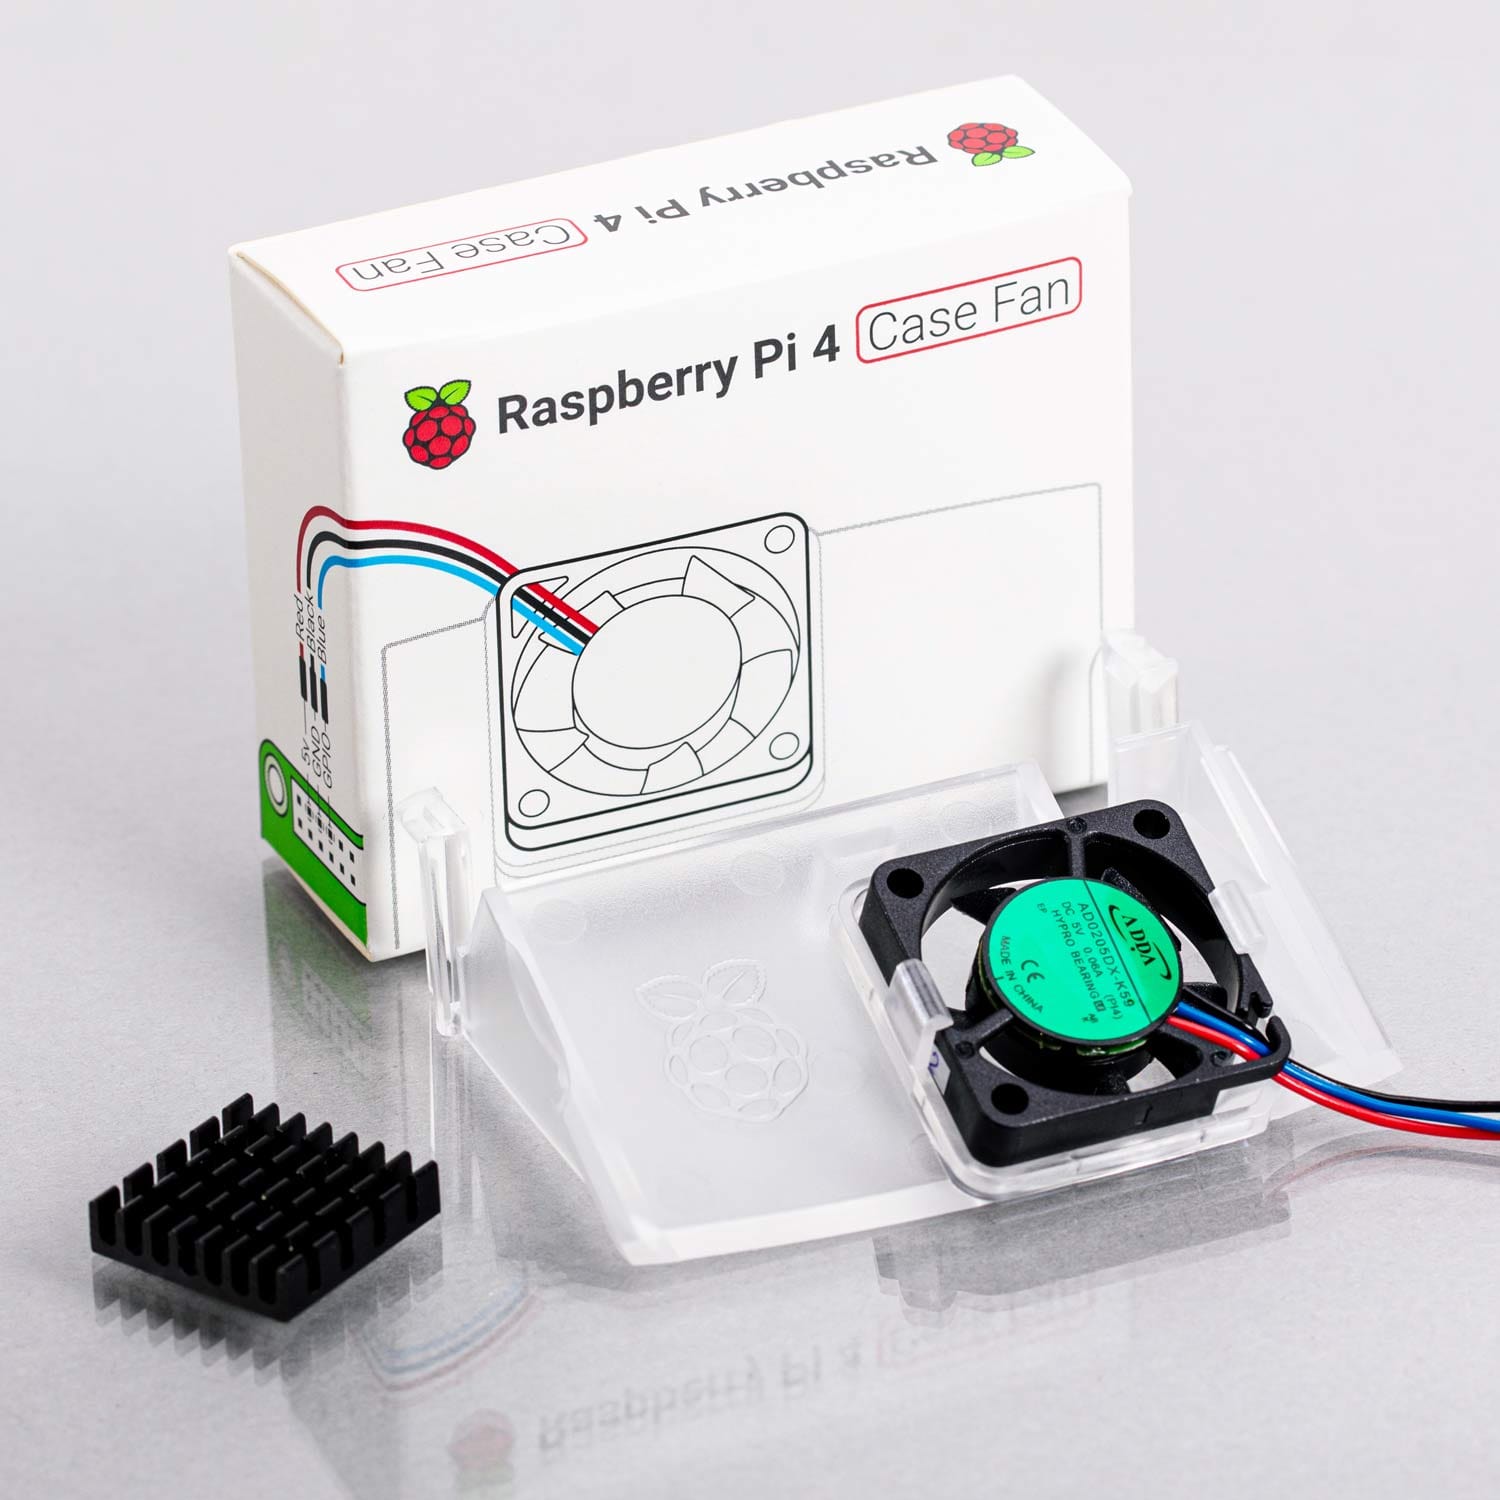
The Raspberry Pi 4 Case Fan is an official Raspberry Pi accessory, designed to be used specifically with the official Raspberry Pi 4 Case.
Great for over-clockers and other power users, it keeps your Raspberry Pi 4 at a comfortable operating temperature even under heavy load, avoiding CPU throttling and keeping your Pi 4 running at tip-top performance.
It’s the perfect add-on for anyone pushing their Pi to the limits with gaming, a media centre or other intensive projects. The fan is temperature-controlled via PWM (Pulse-width Modulation), with a user-selectable GPIO pin.
The Case Fan also comes with a heatsink for the CPU, removing heat from the processor with the aid of the fan.
Note: An Official Raspberry Pi 4 case is required to use this product.
Features
- Fits perfectly into the lid of the Raspberry Pi 4 Case
- The temperature-controlled fan delivers up to 1.4 CFM of airflow over the processor, memory, and power management IC
- 18 mm × 18 mm × 10 mm heatsink with self-adhesive pad improves heat transfer from the processor
Specification
- Input voltage: 5V DC (supplied via 40-pin GPIO header)
- Fan speed control: Pulse width modulation (PWM) control via a user-selectable GPIO pin
- Maximum airflow: 1.4 CFM
- Heatsink Dimensions: 18 mm × 18 mm × 10 mm
- Case material: Clear PC
- Compliance: For a full list of local and regional product approvals, please visit https://www.raspberrypi.org/documentation/hardware/raspberrypi/conformity.md
Fitting Instructions
Download case fitting instruction diagram (PDF)
Download GPIO fan wiring guide (PDF)
- Remove any SD card, then put your Raspberry Pi into the lower half (base) of the case. Take care to align the mounting holes in the corners with the bumps in the case.
- Insert the fan into the upper half (lid) of the case, with the green label facing away from the lid. Push gently but firmly so that the two tabs on the fan housing click neatly into place inside the tabs on the lid. The slightly curved edge of the housing should be flush with the underside of the lid.
- If you are also fitting the heatsink, remove the backing paper from the self-adhesive pad on the base of the heatsink, position it centrally over the processor, and gently press it into position.
- Connect the three leads from the fan to the Raspberry Pi 4’s GPIO pins, as shown in the table and diagram below. Take care to connect each lead to the correct pin.
- Fit the lid of the case onto the base.
| Lead | Colour | GPIO Pin |
| 5V | Red | 4 |
| Ground | Black | 6 |
| GPIO 14 | Blue | 8 |
Dimensions
Warnings & Safety Instructions
- This product should only be used in conjunction with the Raspberry Pi 4 Model B and the official Raspberry Pi 4 Case.
- This product should be operated in a well-ventilated environment and the case should not be covered.
- To avoid malfunction or damage to this product, please observe the following:
- Do not expose to water or moisture, or place on a conductive surface whilst in operation
- Do not expose to heat from any external source; the Raspberry Pi Case Fan is designed for reliable operation at normal ambient temperatures
- Take care whilst handling to avoid mechanical or electrical damage to the fan and connectors
- Avoid handling the fan whilst it is powered
