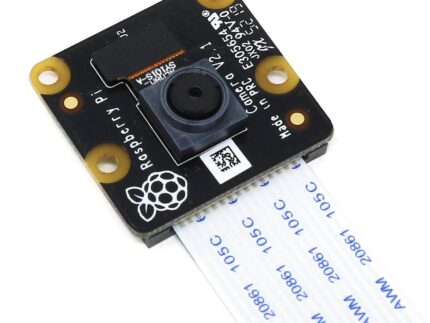
Night Vision Camera for Raspberry Pi – IR-CUT 5MP (Version F)
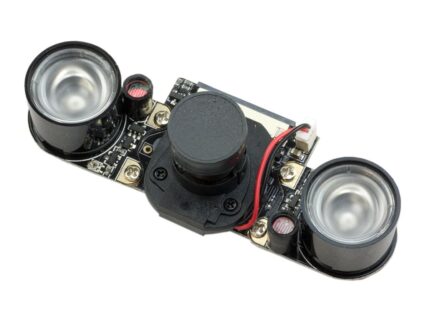
This Night Vision Camera for the Raspberry Pi features two high-intensity Infrared LED spotlights for nighttime recording with your Raspberry Pi!
The IR LEDs are powered directly from the CSI port, and are capable of lighting an area at a distance of up to 8m! In testing, the best images were captured at a distance of 3m to 5m. The camera also features an adjustable 3.6mm focal length lens and 75.7 degree viewing angle.
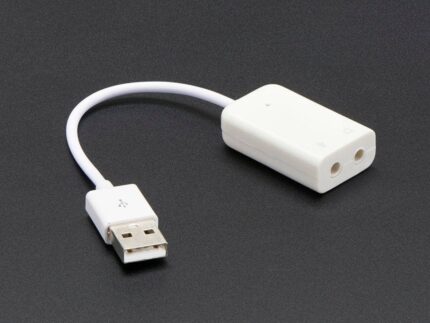
To use this camera with a Raspberry Pi 5, you will need to buy this adapter cable!
To use this camera with a Raspberry Pi Zero, you will need to buy this adapter cable!
This Raspberry Pi night vision camera uses the same OV5647 as the original Raspberry Pi camera, and is therefore able to deliver a crystal clear 5MP resolution image, or 1080p HD video recording at 30fps!
Features
- Raspberry Pi Night Vision Camera
- 5 Megapixel OV5647 Camera
-
2 x 3W high-power 850 infrared LEDs:
- Onboard photoresistor to detect ambient light
- Onboard adjustable resistor, for controlling the ambient light threshold of toggling the infrared LED
- Camera specifications
- CCD size : 1/4inch
- Aperture (F) : 1.8
- Focal Length : 3.6MM (adjustable)
- Diagonal : 75.7 degree
- Sensor Resolution : 1080p
- Dimension : 25mm x 24mm
- 4 screw holes
- Used for both attachment and 3.3V power supply
- Supports up to 2 infrared LEDs
Compatibility
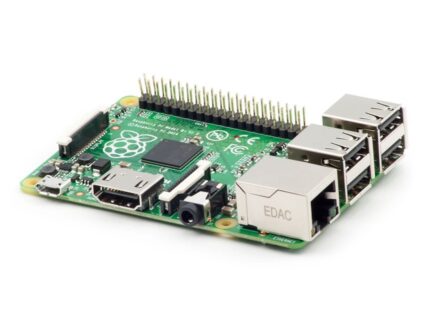
This camera module is compatible with all Raspberry Pi boards with a full-size camera connector (CSI connector).
- To use this camera with a Raspberry Pi 5 (which has a smaller CSI connector), you will need to usea Raspberry Pi 5 camera adapter cable
- To use this camera with a Raspberry Pi Zero (which has a smaller CSI connector), you will need to use an adapter cable
Package Contents
- Raspberry Pi Camera Board × 1
- Infrared LED Board × 2
- 15-Pin FFC CSI Cable × 1
- Mounting Hardware
Warning
The LED intensity is limited by the Raspberry Pi power supply, please ensure you have an adequate Raspberry Pi power supply installed. LEDs running at full intensity can get hot, please take care during prolonged use.
Resources
- Product Wiki
Installation
The IR LEDs can be bolted to the body of the camera using the included bolts. This connects the 3.3V supply to the boards and secures them in place. If you need to adjust the ambient light threshold (to change when the infrared LED’s toggle), there is a tiny adjustable potentiometer on each LED board, you can turn it to change the threshold. Please ensure any fitting or adjusting is completed prior to plugging the device into the Raspberry Pi and switching it on.
Please follow this guide on how to install the Raspberry Pi Camera for details on how to set the board up!