ClusterCTRL: Stack
The ClusterCTRL: Stack (controller and passive backplane) is a simple way to both power and control cooling for a stack of 5 Raspberry Pi boards (not included).
The entire stack of Raspberry Pi can be powered by a single 12-24V PSU with a 5.5mm jack and 2.1/2.5mm pin (not included – see notes below on power) via the onboard 10A 5.1V DC-DC regulator – providing 2A per Raspberry Pi.
The main board includes a 6-pin header for monitoring each Raspberry Pi, and includes connectors for 2 independently controlled fans. The USB-A connector is intended for 5V power only to run a low-power switch or similar.
Connecting the ClusterCTRL Controller (via the Micro USB connector) you can use the “clusterctrl” tool which allows the following:
- Control power for each Raspberry Pi individually
- Ganged FAN On/Off (when “off” the individual fans are still controlled via GPIO as above)
- Measures both the voltage supplied to the Raspberry Pi and the 12-24V input voltage
- Configure power-on state (each individual Pi can be set on/off by default)
- A single Controller Pi can control many ClusterCTRL devices (Stack/Triple/Single/etc)
Controller
- Powered by 12-24V PSU.
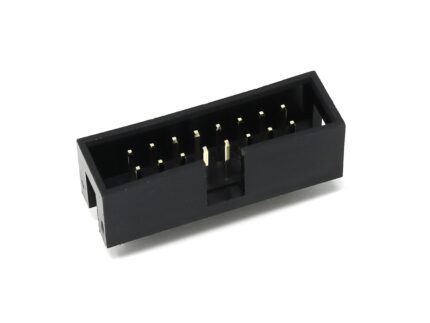
- 20 pin header for Power (2x5V and 2xGND for each Pi).
- 6 pin header for monitoring of Raspberry Pi (1 GPIO pin per Pi).
- Onboard 10 Amp 5.1V DC-DC regulator (2 Amp allowance per Pi).
- Connectors for 2 independently controlled fans.
- Micro USB for ClusterCTRL allows controlling individual Pi power, fan, auto power on, voltages, etc.
- USB Type-A connector 5V (ONLY) power output, can be used to power a 5V switch for example.
Passive backplane
- Connects between the ClusterCTRL Stack Controller to each Raspberry Pi.
- 20+6 pin connectors for ClusterCTRL Stack Controller.
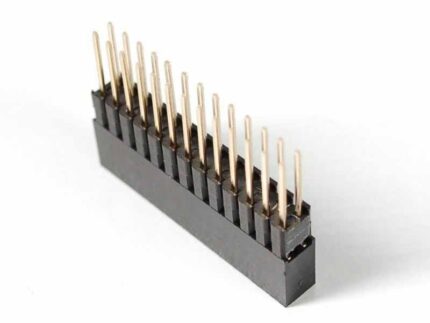
- 20 pin connector for each of the five regular-sized Raspberry Pi (B+/2/3/3+/4).
- Connects GPIO BCM18 of each Raspberry Pi to the Controllers monitor header.
Usage
As supplied the Controller can be used standalone – once power is applied to the ClusterCTRL Stack each Raspberry Pi will be powered on in 1-second intervals. The GPIO (BCM18) pin from each Raspberry Pi is monitored, when this is set high the corresponding FAN is turned on (P1/P2 = FAN1 and P3/P4/P5 = FAN2) as required to cool the Pi.
You can use any software on the Raspberry Pi nodes (Raspbian/Ubuntu/etc.). To control the nodes you will need to install the clusterctrl software. Currently, this needs to be manually installed – see the FAQ entry for manual installation steps.
To enable the fans to be turned on/off automatically when a Raspberry Pi requires cooling add the following to /boot/config.txt on each Raspberry Pi (in the example below it will turn the FAN on at 75C and off at 65C).
dtoverlay=gpio-fan,gpiopin=18,temp=75000
Connecting the ClusterCTRL Controller (via the Micro USB connector) you can use our “clusterctrl” tool which allows you to.
- Control power for each Raspberry Pi individually.
- Ganged FAN On/Off (when “off” the individual fans are still controlled via GPIO as above).
- Measures both the voltage supplied to the Raspberry Pi and the 12-24V input voltage.
- Configure power-on state (each individual Pi can be set on/off by default).
- A single Controller Pi can control many ClusterCTRL devices (Stack/Triple/Single/etc).
8086 recommend using two 70mm fans for cooling, one for the ClusterCTRL Stack Controller+P1+P2 (FAN1) and the other for P3/P4/P5 (FAN2). However, users may wish to utilise different fan options.
What comes with the ClusterCTRL Stack
- ClusterCTRL Stack Backplane
- ClusterCTRL Stack Controller
- 4x M2.5 12 mm F-F spacer
- 24x M2.5 25 mm M-F spacer
- 8x M2.5 6 mm screws
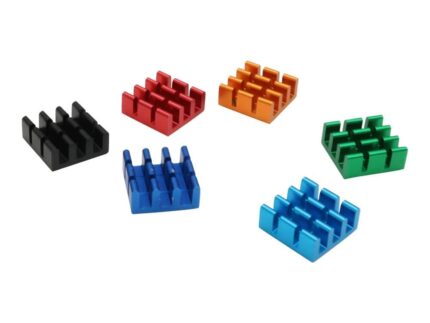
Note: Raspberry Pi boards and heatsinks not included.
What do I need to use the ClusterCTRL Stack?
- 12-24 Volt Power Supply with 5.5 mm 2.1/2.5mm barrel jack (60 Watt recommended minimum)
- 5x Raspberry Pi (Pi2/3/3+/4)
- 2x 5V fans and heatsinks (optional)
- Controller Pi (can be one of the stack) (optional)
- USB Cable to connect to controller (optional)
- Gigabit Ethernet Switch (optional)
When choosing a power supply for the Stack searching for laptop/monitor power supplies with an output of 12/19 Volts and more than 60 Watts of power should help (ensuring they’re 5.5mm jack with 2.1/2.5mm pin).
Due to the backplane being a fixed size you can only add an additional board under the last Pi.
Cases
- STL files for a 3D printed case are available on Pinshape


