Adafruit NeoPXL8 FeatherWing for Feather M0 – 8 x DMA NeoPixels!
Since we first started carrying NeoPixels back in 2012, the chainable RGB LEDs have taken over the world. And a big part of that success is due to the simplicity of their wiring – just one data wire, no matter how many pixels you’ve got. So no surprise they’re everywhere, blinking away in art exhibits, maker faire demos, DJ booths, decorations and costumes.
But, at some point, every NeoPixel’er bumps into the constraints of that single-data-wire: the timing is very picky and often time your code has to stop completely so that it can burst out the data without any interruptions. This requirement makes it tough to create fast-update lighting effects, and limits the number of pixels you can drive before other hardware peripherals get attention.
Resident pixel-pro Paint Your Dragon (who coined the name NeoPixel dont-cha-know!) took on this challenge and has succeeded gloriously. By carefully examining the ATSAMD21 datasheet he noticed you could use the Timer 0 in ‘waveform’ mode, and create 8 unique waveforms over DMA that would handle all the pixel-pushing for you.
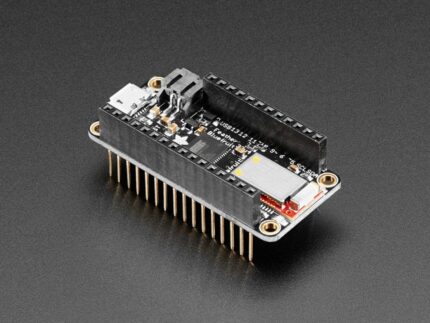
Thus is born the NeoPXL8 Arduino library and NeoPXL8 Featherwing! The library runs on our Feather M0‘s (the Basic Proto, Adalogger, Bluefruit, Express, and others) and handles all the NeoPixeling for you, up to 8 strands of concurrent DMA output each one can be 250 pixels long for a total of 8 x 250 = 2000 pixels. That leaves you some RAM for your code to run in as well – the theoretical max is 340 pixels per strand but you’d be using all the RAM on the M0 chip.
If you have a SAMD51 Feather, check out the sister product – NeoPXL8 FeatherWing for M4 boards.
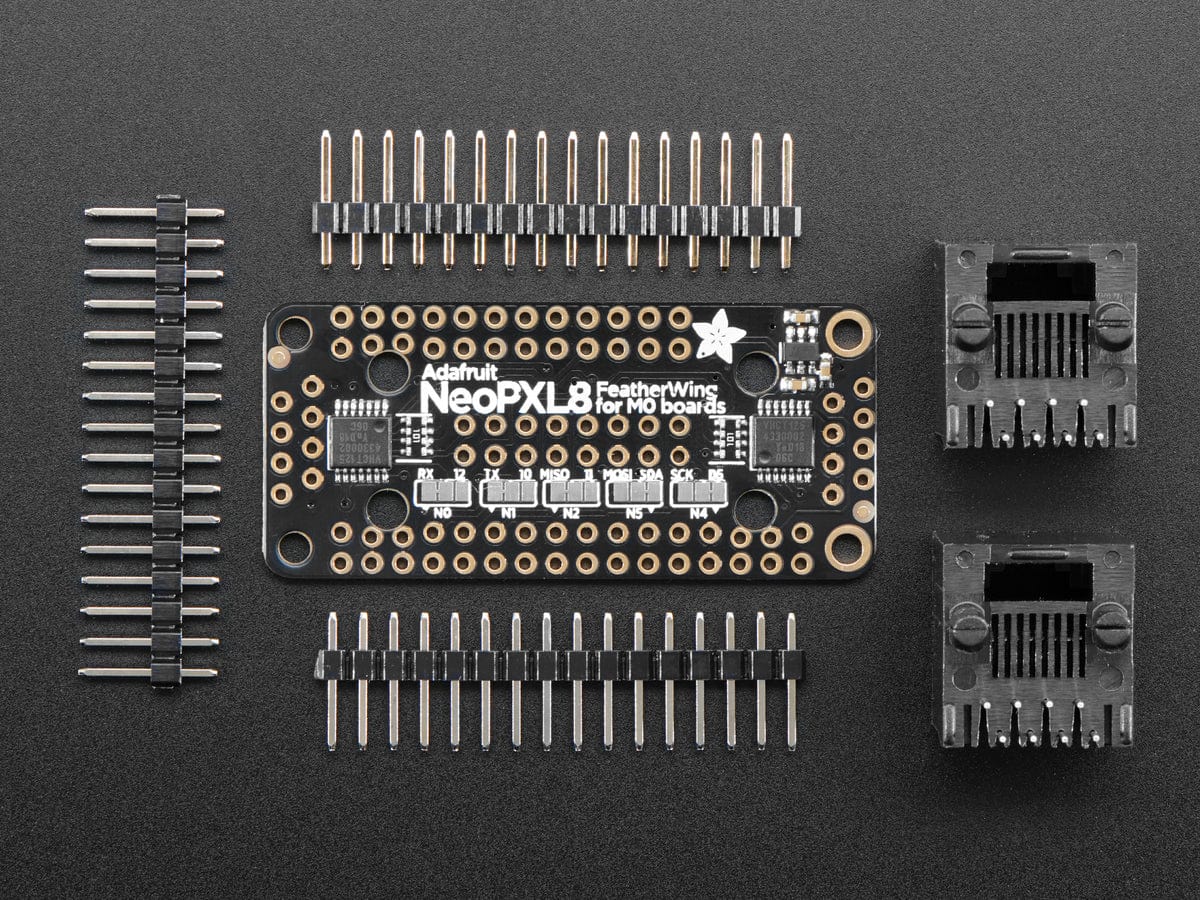
To make connection easy, this Featherwing does the level-shifting and pin arrangements for you. All 8 strands have a level shifter that converts the 3.3V logic level to 5V logic, there’s a little switch-cap converter that generates the clean 5V power supply for you. Then a 100 ohm resistor in line after the buffer reduces ringing on long wiring runs.
You get two options for connecting NeoPixels:
- 2 x 8 Header with ground and 5V-logic signal, in pairs
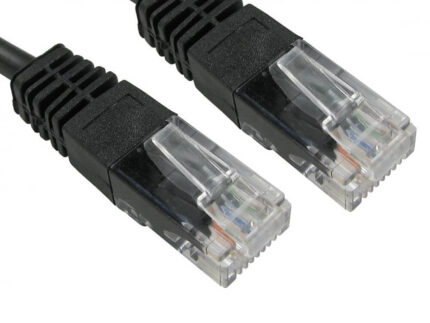
- 2 x RJ-45 ‘Ethernet’ Jacks, with ground and 5V-logic signal per twisted pair. This matches the same wiring as the OctWS2811
To keep the ‘Wing compact we let you choose which wiring you’d like to go with, just solder in the connectors you prefer. Then you’ll also need to provide power to the NeoPixels. Since you’ll need many Amps of current, we don’t manage that through the Wing – the PCB copper would be too limiting. We recommend using terminal blocks or bus bars to connect all the ground/5V power wires together and powering them from their own chunky 5V supply.
Since we are using TCC0 (Timer 0), we are limited in what pins can be used for NeoPixel output. Here are the options you have:
- Output #0 comes from A3
- Output #1 comes from A4
- Output #2 comes from either Digital #10 or the Serial TX pin (selectable)
- Output #3 comes from either Digital #12 or the Serial RX pin (selectable)
- Output #4 comes from either SPI MOSI or I2C SDA (selectable)
- Output #5 comes from either Digital #5 or the SPI SCK pin (selectable)
- Output #6 comes from either Digital #11 or the SPI MISO pin (selectable)
- Output #7 comes from Digital #13
As you can see, some of these pins are fixed (A3, A4, #13) and the rest have two options. If you absolutely cannot spare both options, you can disable that from the NeoPXL8 DMA output and live with 7 strands only.
While we designed this specifically for use with Feather M0 (SAMD21 based), you could use it with other Feathers, for the level shifting capabilites. You’ll just have to figure out what NeoPixel driver firmware you can use and what pins are available.
If that all sounds groovy to you, pick up one of these wings and check out the NeoPXL8 Arduino library examples to get your massive LED project going!
Technical Details
Dimensions (board only, no components): 50.7 x 23 x 2.6mm
Product Weight: 3.6g / 0.1oz
