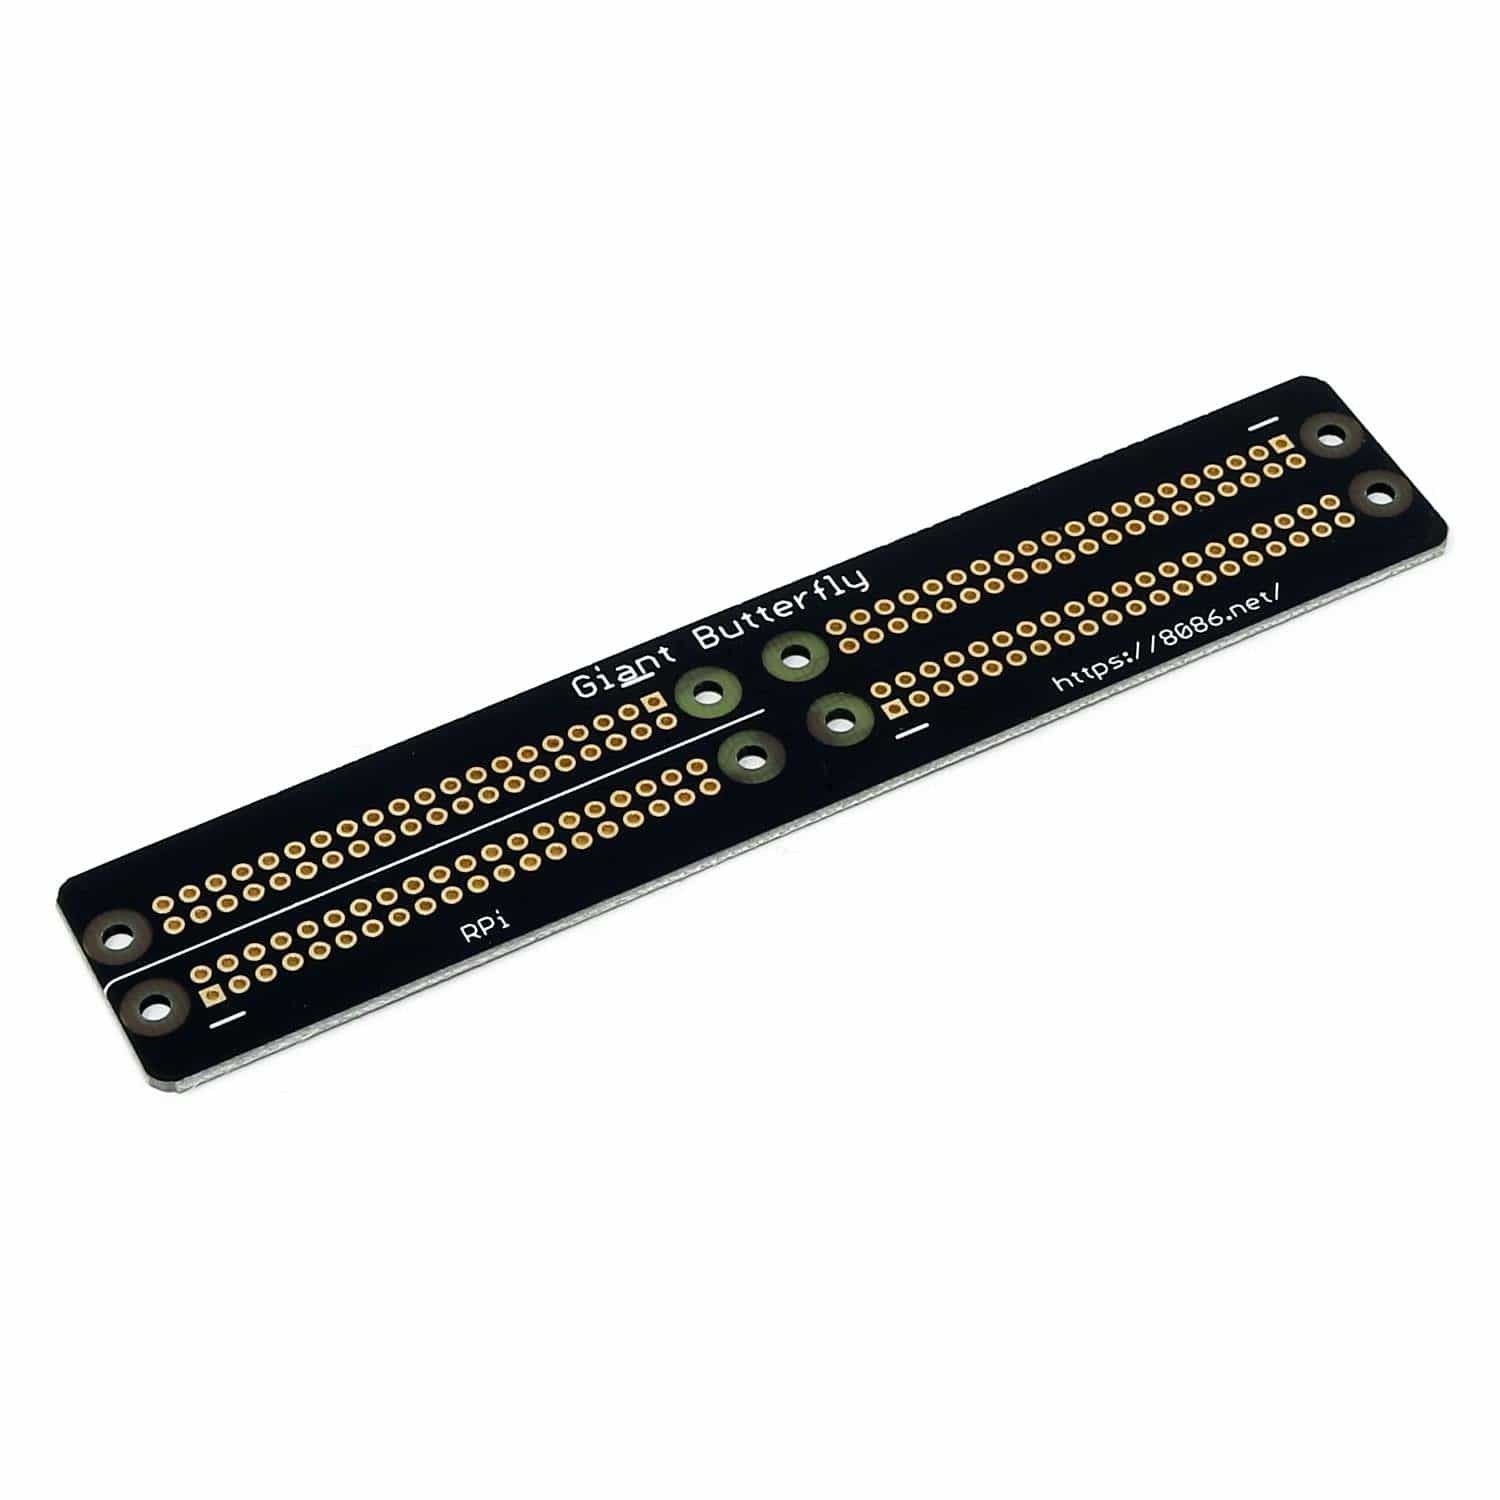
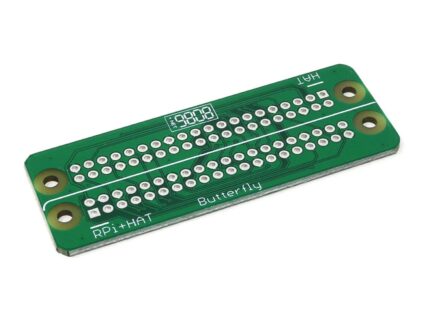
Giant Butterfly for Raspberry Pi
The Giant Butterfly allows four HATs or pHATs (or a mix) to be attached to a single Raspberry Pi 40-way connector.
All pins are connected and the ID_SD and ID_SC (HAT EEPROM) have cuttable solder jumpers.
For HATs and pHATs with an EEPROM (required by the HAT specification), you will need to cut the ID solder jumpers (with a sharp knife or track cutter) to prevent conflicts.
The EEPROM on the primary HAT (over the Pi) is always connected to the Pi. If at a later date you require the ID pins to be reconnected this can be done by bridging the jumper with solder.
Note: The Giant Butterfly uses a 4-layer PCB to achieve its small footprint. Due to the traces crossing over each other we do not recommend using it where high-frequency signals/switching is required. Raspberry Pi, headers and HATs not included.
Before Using
When using multiple HATs you MUST check for conflicts – for example, enable/select pins when using SPI, I2C addresses and GPIO pin conflicts and modes, 8086 advise checking on pinout.xyz and/or with the HAT manufacturer for used pins/modes in use.
Assembly / Soldering
The Giant Butterfly board would normally be used with 3x male + 1x tall stacking headers (not included). The tall stacking header is for the Raspberry Pi and the primary HAT, and the male headers is for the other HAT positions.
- The top side of the board has the “Giant Butterfly” text and the underside has the ID solder jumpers.
- See the important notes below for the primary HAT position. Push the female header with long pins through from the bottom and solder into the holes closest to the HAT position marked “RPi”.
- Next the 3 male headers can be soldered into the other 3 positions.
Important Notes
- When soldering the long female header onto the Giant Butterfly please be aware of the clearance with the USB/Ethernet connectors on the Raspberry Pi. Use a tall header with shrouds like this one.
- Either way, 8086 strongly recommend applying a couple of layers of electrical insulation tape onto the top of the connector (USB[Pi4]/Ethernet) under the Giant Butterfly board to prevent shorts.
- Pin 1 of each HAT position is marked with a white line next to the square pad.
